
We may earn money or products from the companies mentioned in this post.
I love the idea of pretty nails. They make me feel so polished (sorry for the pun – okay, maybe not 😉 ) and finished and detailed. Videos of techniques like this water marble nail art are inspirational. It’s so nice to feel pretty – until you have to do something. Seriously, just about anything will make my nail polish chip or smudge. You’d think I did construction or had a job that requires you to repeatedly smash your hand into some horrible machine, or maybe dragged my hands on the road when I walked. Nope! I have an office day job that requires typing. (NOT much manual labor there…) I cook a lot; which means I also do a lot of dishes. Okay, that could be a part of it. But still. I see the TV chefs like Giada De Laurentiis or Laura Vitale, and they always have a beautiful manicure to go along with their perfect smiles and yummy food.
It’s so frustrating to either spend the time doing a manicure myself, or the money to have someone else take the time to do the pampering for me, just to have it all messed up in a day or two – or sooner. But then I think I really want to have pretty hands and polished nails, so I try again… and again… and again… Glutton for punishment, what can I say.
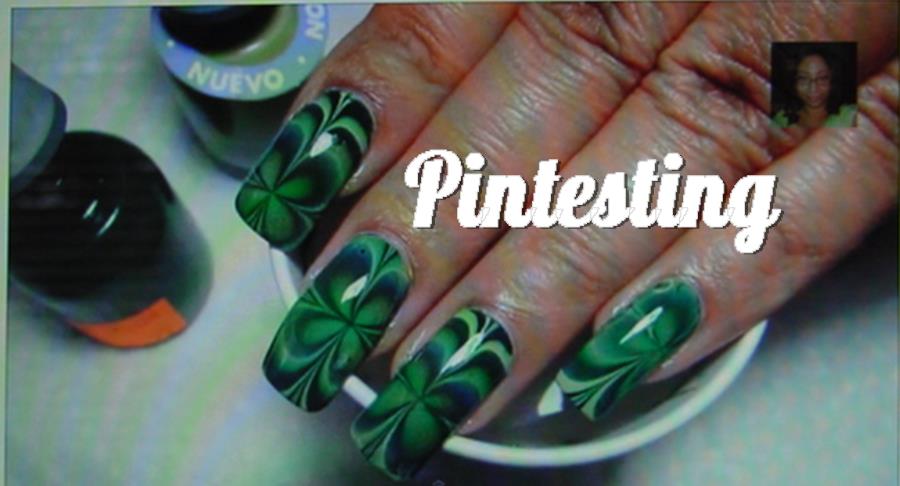
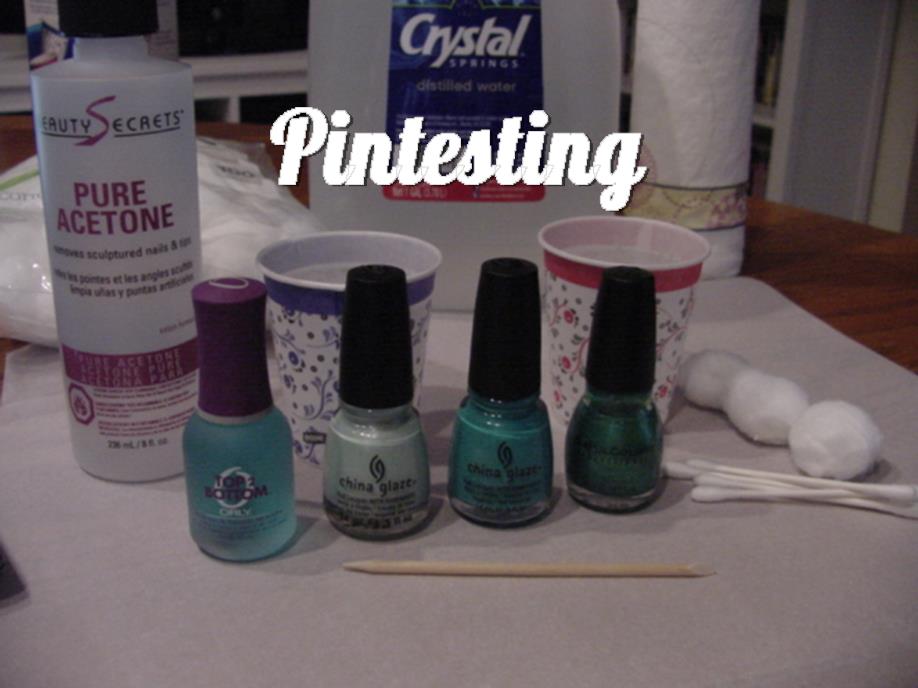
So with St. Patrick’s Day approaching, I thought I’d try a nail technique that has intrigued me since I saw it shortly after I started on Pinterest. Water Marble Nail Art. These are some of the most beautiful designs I’ve seen, and I HAD to try this shamrock looking one. Collette, of My Simple Little Pleasures, made it seem very doable with a detailed video tutorial. So I went to my local Sally’s Beauty Supply Store and bought the color of polish I didn’t already have, picked up small paper cups then went to work.
The Pintesting:
I used filtered water, like the video instructed, then added drops of polish into the cup of room temperature water.
It should look like this,
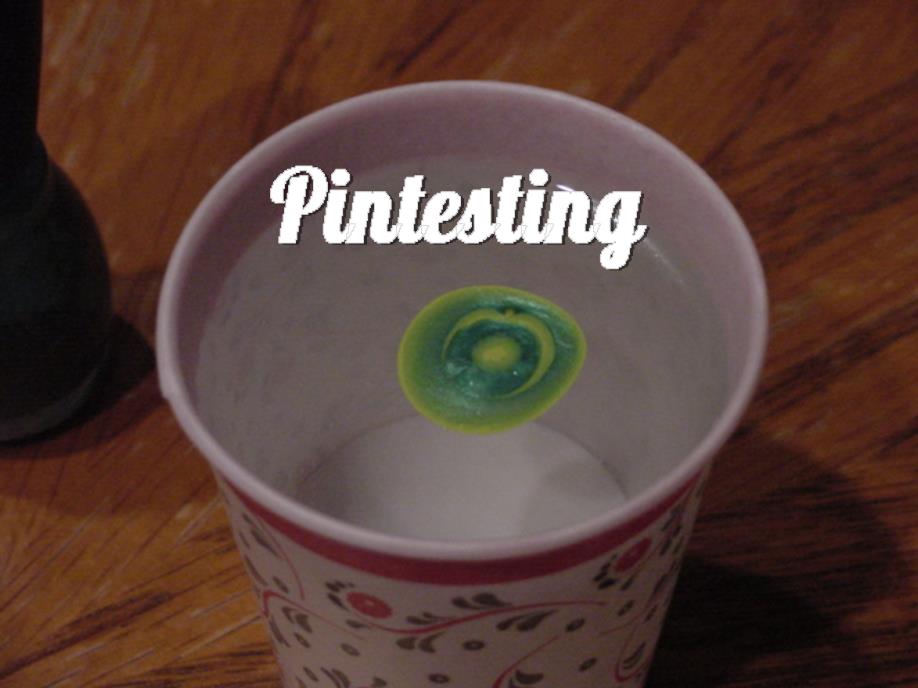
It didn’t work out so well.
When I tried to make the clover, the polish dragged all over the water and made a mess.
Let’s try this a second time. I went back to Sally’s and bought all new polishes – just in case the 12-month old polish was too old.
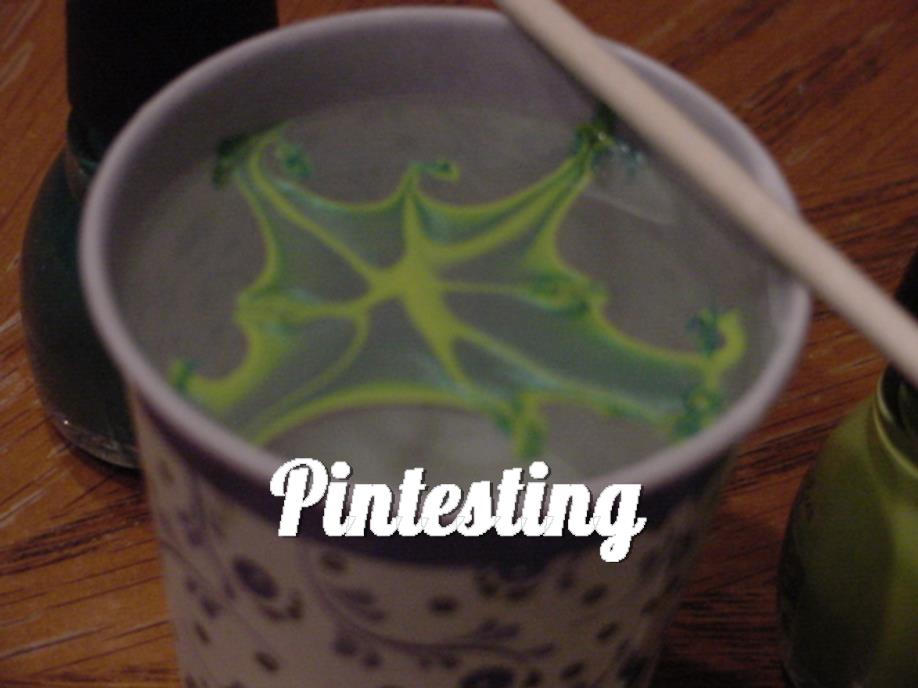
After a bit more research, I found that some nail artists use distilled water rather than filtered. So with all new polishes and distilled water, warmed a bit by microwaving it for 15 seconds to bring it just above room temperature, it’s time for the second try.
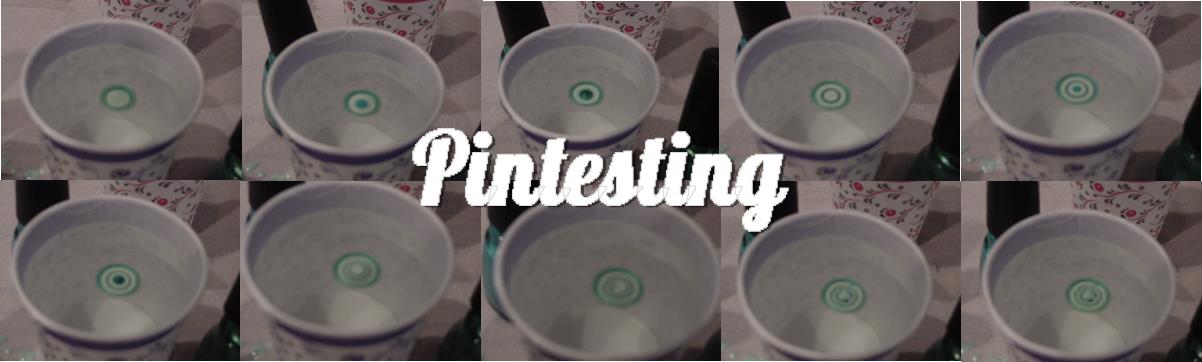
Here are the concentric circle steps. Still not great, but better than before… here’s hoping.
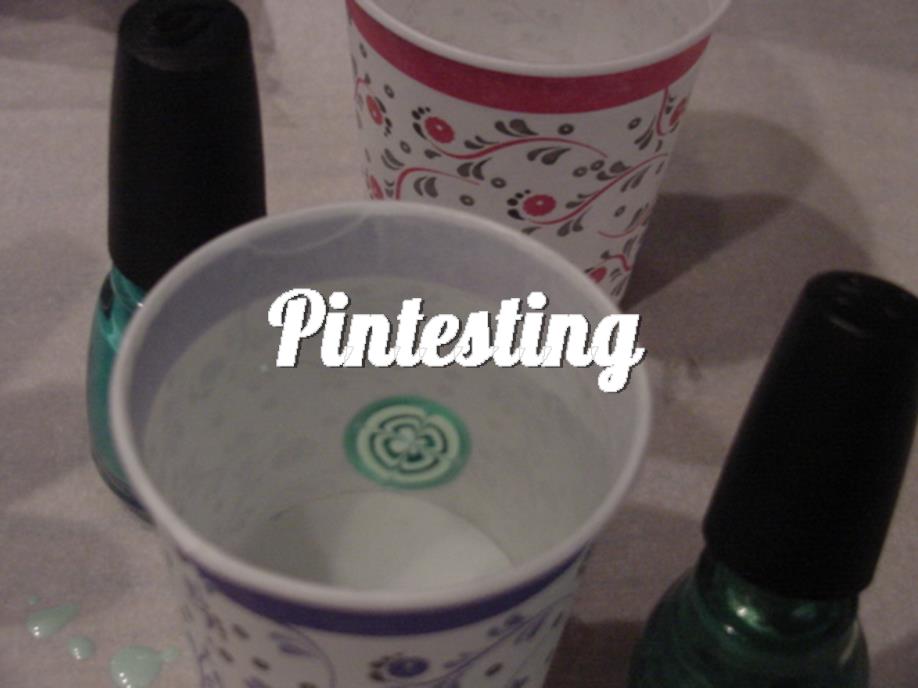
I was able to make a small clover shape this time. I didn’t worry about it being too small since I don’t have really long nails.
I prepped the nail with base coat and color coat and taped the edges of my finger for easier cleanup.
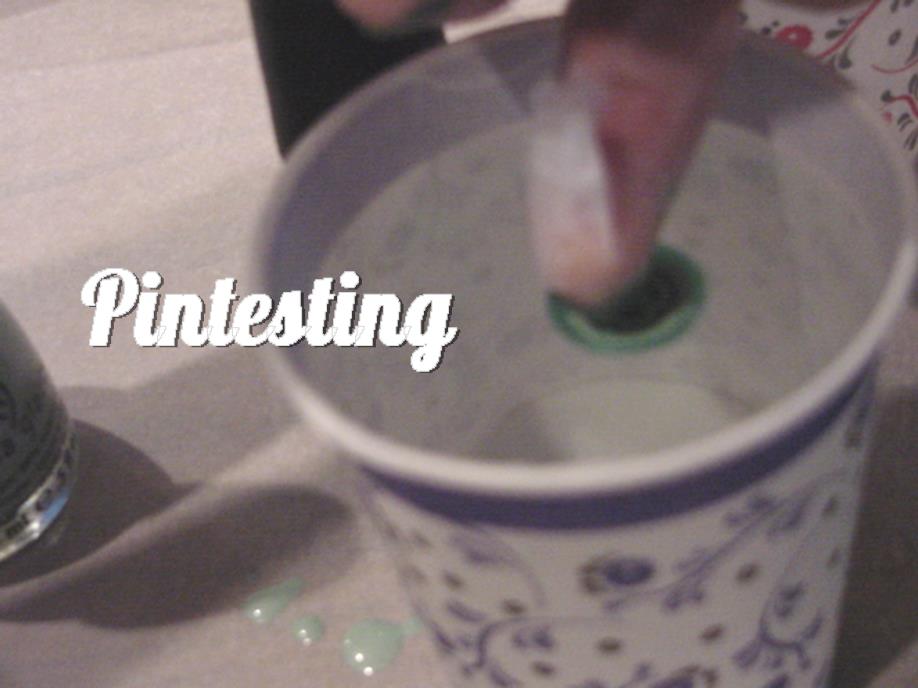
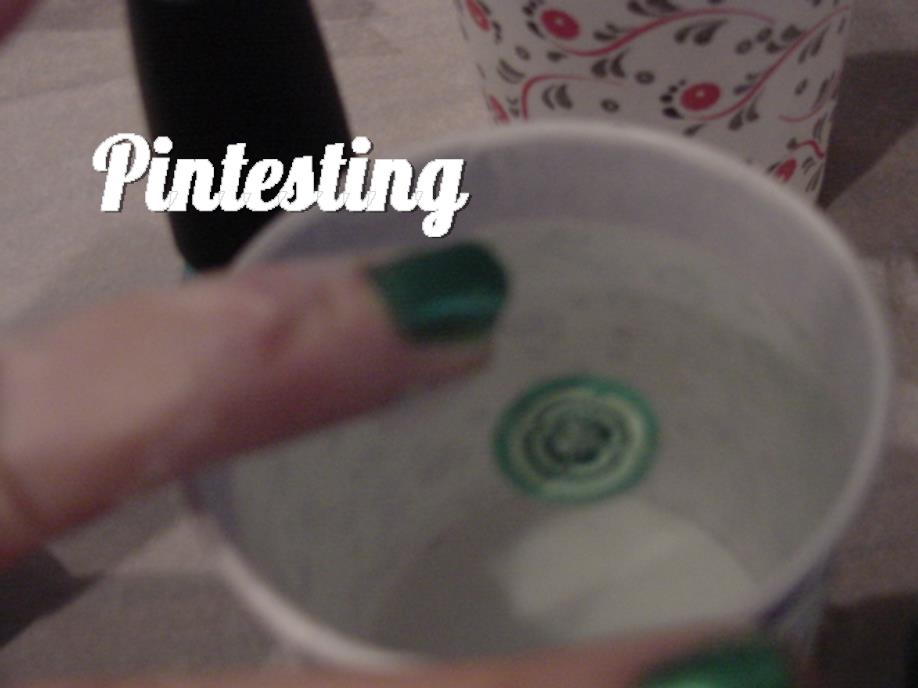
Poised… and Dunk. I couldn’t take a picture while cleaning up the polish on the water layer but did it as the video instructed.
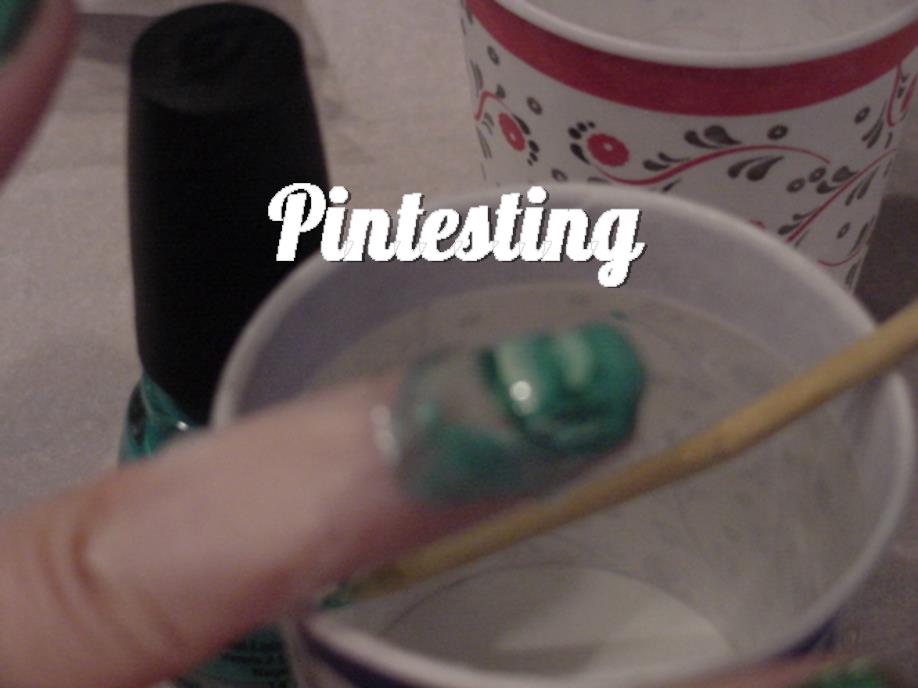
I couldn’t wait to see the super cool shamrock on my nail but got this blob with no distinct clover or shamrock.
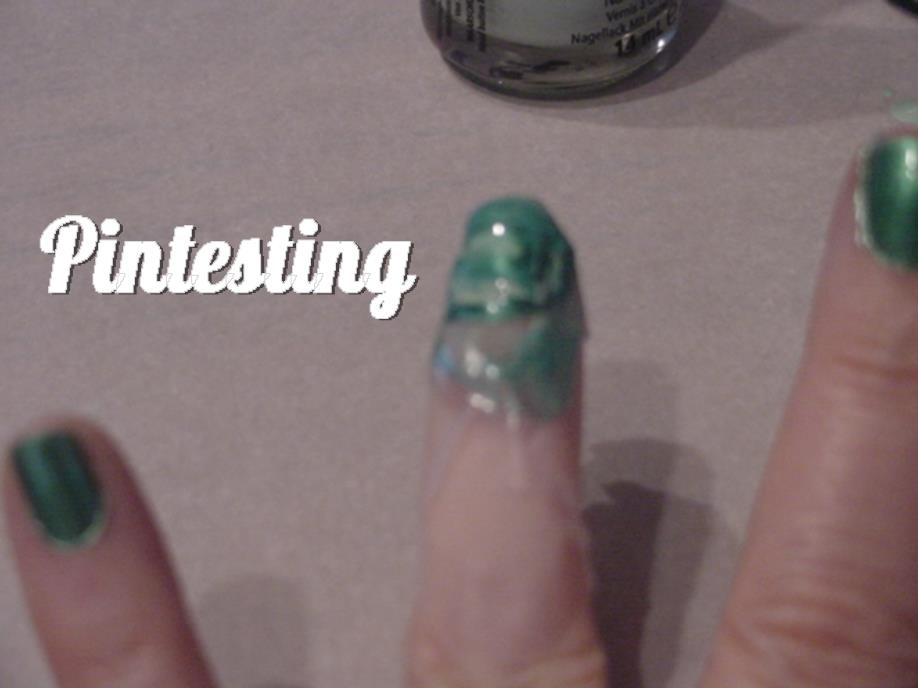
So this failed twice, I’m sorry to say. I loved how it looked and have seen several other nail art videos on water marble nail art that I’m not going to give up yet. Maybe I’ll break down and spend the money on a mani (for the research) and ask some questions to the salon techs. Until then, I’ll stick to simpler nail techniques.
The Pintesting Results:
Overall Rating: 2 Pins

Accuracy: In two attempts, the polish didn’t behave as the video showed. Additionally, the beautiful distinct design didn’t come close to making an appearance. . And finally, the tape on the nails melted into a mess that took a lot of acetone to get off. 1 Pin.

Difficulty: The video made to process seem simple enough, but getting the polish to drop in the middle of the circles wasn’t easy. Not enough polish on the brush, and it wouldn’t let go. Too much, and it would drip before you wanted it to and in the wrong place. 3 Pins.

Time: The whole process took about twice as long as a typical manicure. Had the results worked, then it would have been worth it, but since they didn’t – 3 Pins
Cost: Sally’s had the polishes on sale at 2 for $11. Add to that the cost of the distilled water, paper cups, orange sticks, etc. and it’s a lot for a normal home manicure, but roughly the same cost of a salon manicure. 3 Pins
Practicality: IF this had worked, it would have been a great way to get an awesome mani, but since it didn’t, and since it was a waste of a lot of polish, I don’t think this was a practical way to get a manicure. 1 Pin
Pintesting
Pinterest addict, award-winning baker, and cookbook contributor - I'm Anne and I'm so glad that you've found Pintesting. This is where we test, review, and rate Pinterest pins on a weighted 5-point scale and sometimes share our own recipes, tips, and tricks.


Pingback: Dry Marble Nail Art | Pintesting